
When you walk into a freshly painted room, what stands out first isn’t always the color; it’s the finish. Smooth, clean walls make any space look professional and well-kept. But when walls are textured or uneven, getting that sleek look isn’t easy. That’s where experienced painting contractors make a difference.
Painting textured walls takes skill, patience, and the right tools. Whether it’s orange peel, knockdown, or heavy stucco textures, professionals know how to create even, polished results without damaging the surface. Let’s explore how painting contractors turn rough, uneven walls into smooth, flawless finishes that look amazing from every angle.
What are Textured Walls?
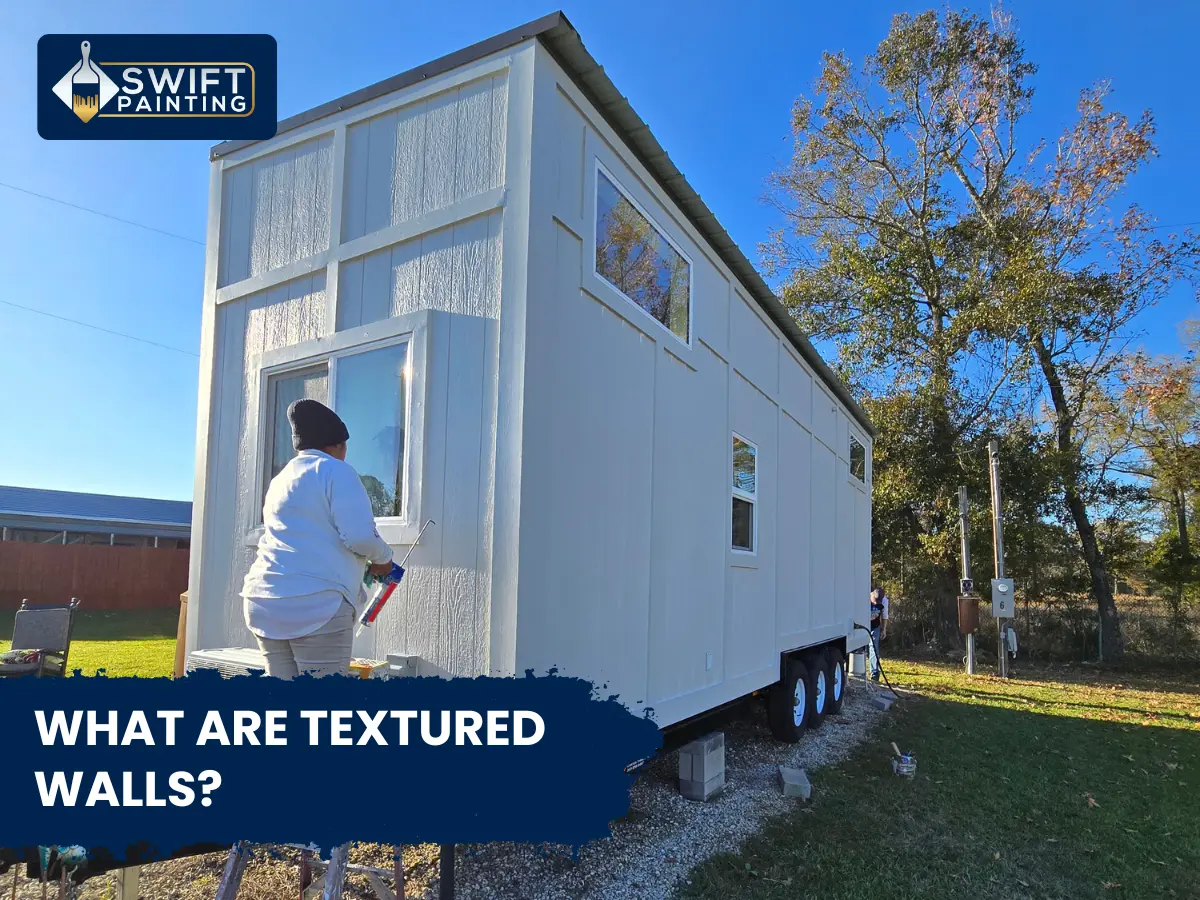
Textured walls come in many forms, some intentional, some not. Many older homes have textured finishes to hide imperfections or add style. Common types include:
- Orange Peel: Subtle bumps similar to an orange’s surface.
- Knockdown: A mottled, uneven look that’s popular in modern homes.
- Popcorn or Stucco: Heavier textures that can be tricky to paint smoothly.
While these textures can add character, they also make painting more complicated. The rough surface catches light differently and absorbs paint unevenly. This can lead to patchy coverage or an uneven finish if not handled properly.
Why Smooth Results Matter
A smooth wall finish gives your home a cleaner, more modern look. It also makes colors appear more vibrant and consistent. Rough textures can cause shadows and dull spots, which take away from the overall beauty of your paint job.
Professional painting contractors understand how lighting, color, and surface texture work together. Their approach isn’t just about applying paint; it’s about creating balance and visual harmony in your space.
Step 1: Thorough Surface Preparation
Every great paint job starts with proper prep work. Painting contractors know that rushing this stage leads to poor results later.
Cleaning the Walls
Before painting begins, walls need to be completely clean. Dirt, grease, or dust can prevent paint from sticking properly. Professionals often use mild detergents and soft sponges to wash the walls. Once clean, they let the surface dry fully to avoid trapped moisture.
Repairing Imperfections
Even textured walls can have dents, cracks, or old nail holes. Contractors patch these with lightweight spackle or joint compound. For deeper textures, they may use a drywall knife to smooth out rough spots without flattening the overall design.
Sanding for Smoothness
Light sanding is key to reducing overly sharp textures or bumps. Fine-grit sandpaper helps even out rough patches and prepares the surface for primer. Professionals wear masks to avoid inhaling dust and use sanding poles to reach higher areas efficiently.
Step 2: Applying the Right Primer
Primer is often the secret to a smooth and professional-looking finish. It seals the wall and provides a uniform surface for paint to adhere to.
Painting contractors choose primers based on wall type and paint color. For heavily textured walls, they may use high-build primers that fill minor grooves and imperfections. This creates a smoother surface and helps reduce paint absorption differences.
If stains or dark colors are present, stain-blocking primers ensure they don’t bleed through the new coat. This extra layer makes the final paint color look consistent and vibrant.
Step 3: Choosing the Right Paint
Not all paints work well on textured surfaces. Professionals select formulas that match the wall’s condition and the client’s goals.
Paint Finish Matters
- Matte or Eggshell: Hides minor imperfections and gives a soft look.
- Satin or Semi-Gloss: Easier to clean and adds a slight sheen for bathrooms or kitchens.
- Flat Paint: Ideal for low-traffic areas but may require touch-ups sooner.
The right finish makes a big difference in how the final result looks and feels. Experienced contractors test samples on a small area first to see how the paint reacts to the texture and lighting.
Step 4: Professional Application Techniques
This is where painting contractors show their real skill. The method they use can completely change how smooth or uneven the final finish appears.
Using Rollers for Even Coverage
Roller choice matters. For textured walls, contractors often use thick-nap rollers that can reach into crevices and spread paint evenly. They roll in multiple directions to avoid streaks and maintain consistent coverage.
For a finer texture or semi-smooth finish, microfiber rollers are ideal. They apply thin, even layers without creating roller marks.
Spraying for a Flawless Finish
Many professional painters use paint sprayers for the smoothest results. Spraying covers textured walls quickly and evenly, especially in large rooms. It minimizes roller lines and ensures every groove gets coated.
However, spraying requires skill and the right equipment. Contractors mask off surrounding areas carefully to prevent overspray and ensure clean edges.
Cutting-In for Clean Lines
The edges around trim, ceilings, and corners are done by hand using angled brushes. Contractors use steady, controlled strokes for sharp lines without tape bleeding. This step adds precision and a polished look to the finished job.
Step 5: Applying Multiple Coats
One coat rarely gives professional results on textured walls. Painting contractors apply two or more thin coats to build depth and even color.
They allow each coat to dry fully before applying the next. This prevents bubbles, drips, or streaks. The second coat usually fills in any missed spots, giving the surface a rich, consistent finish.
Step 6: Final Touches and Cleanup
Once the paint dries, contractors inspect the walls under different lighting conditions. They fix any missed areas or imperfections immediately.
Then comes the cleanup. They remove tape carefully, reattach fixtures, and clean the workspace. A neat finish and tidy cleanup are part of what separates professionals from DIY results.
Tips to Maintain Smooth Painted Walls
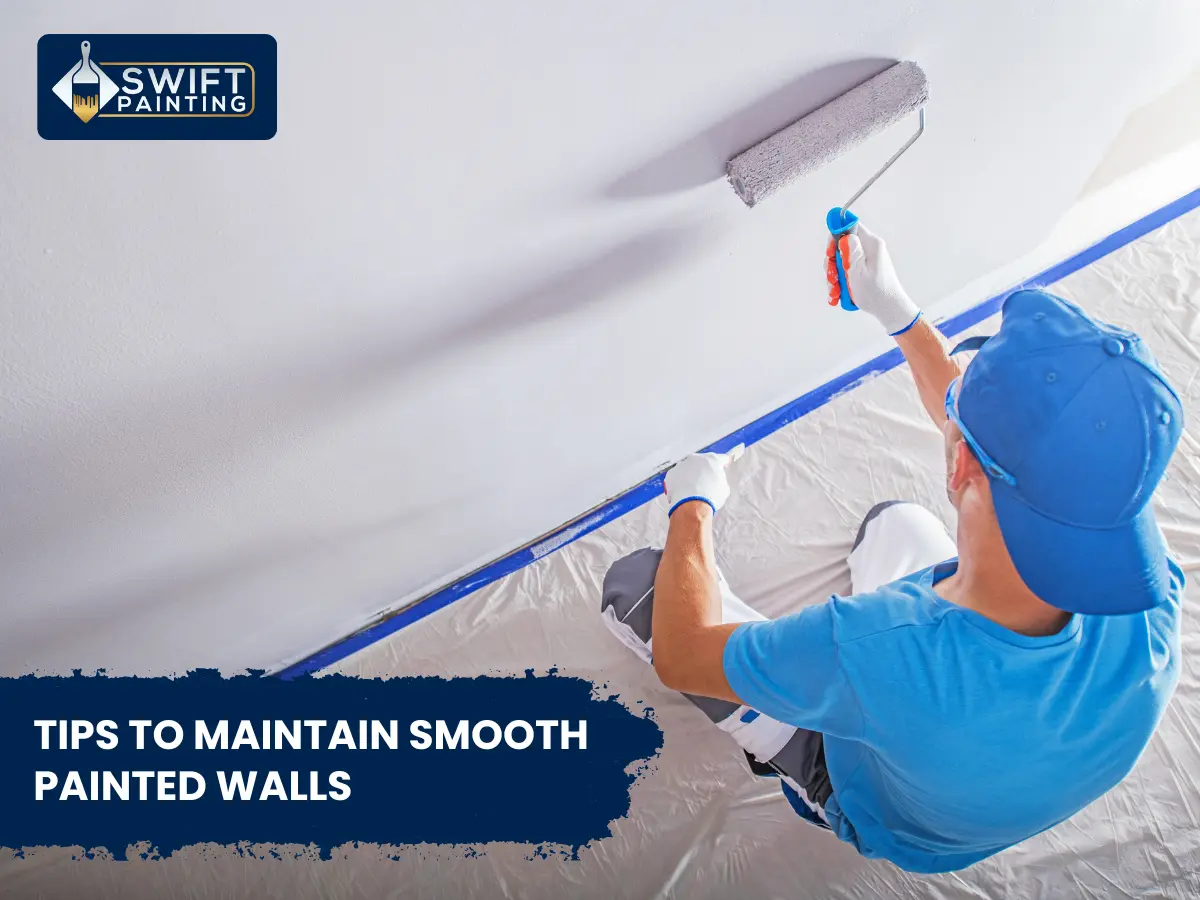
After the job is done, a little maintenance keeps your walls looking new for years.
Repaint high-traffic areas every few years to maintain freshness.
Clean walls gently with a soft sponge and mild cleaner
Avoid scrubbing too hard on textured areas.
Repair scratches or chips right away to prevent peeling.
Keep humidity under control to protect paint longevity.
Why Hiring Painting Contractors Is Worth It
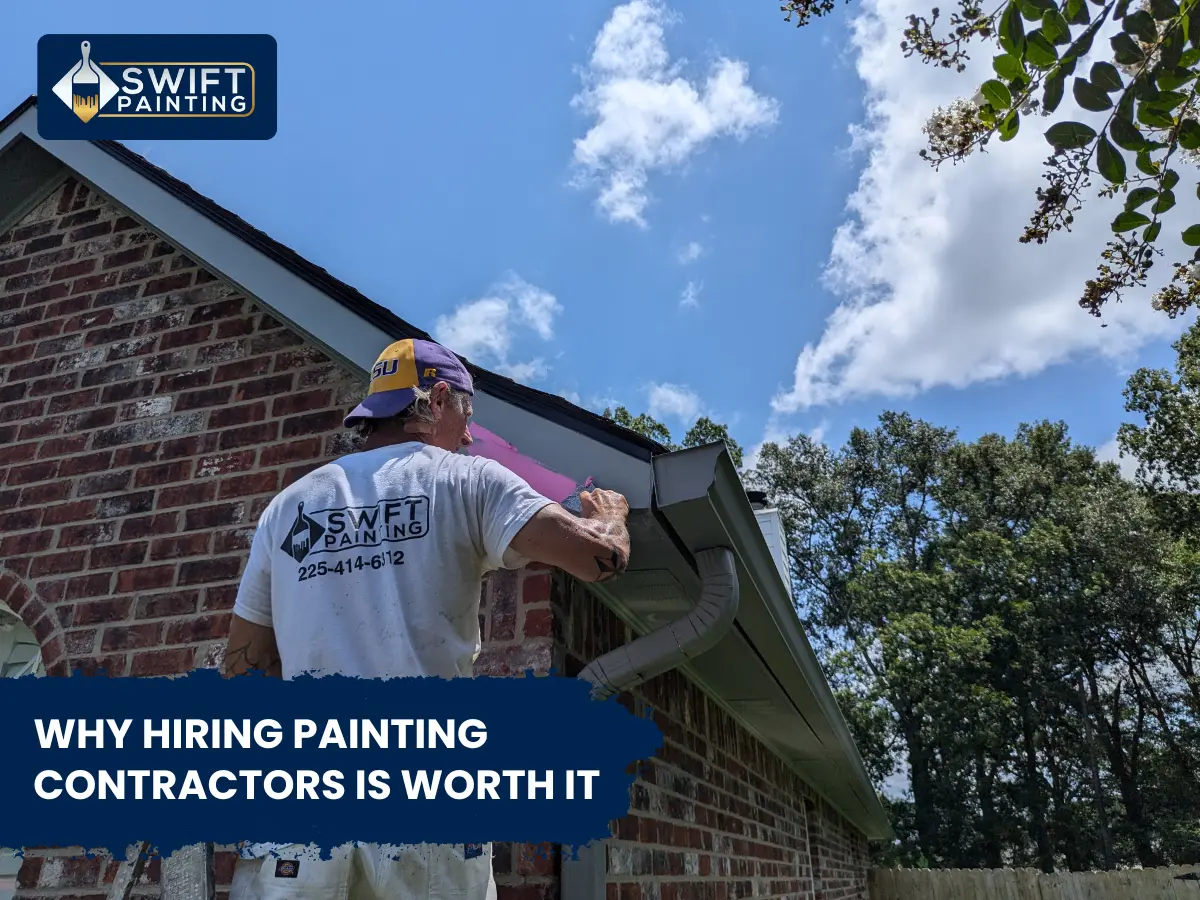
Painting textured walls isn’t as simple as rolling on a coat of paint. It takes time, precision, and the right products. Professionals not only know which materials to use but also how to apply them for lasting, beautiful results.
They also save you time and stress. Instead of struggling with patchy paint or uneven finishes, you get walls that look professionally designed and finished.
Whether it’s a small bathroom or an entire house, they bring the experience and efficiency that make every project worth the investment.
If you want results that last and a finish you’ll be proud to show off, hiring professional painting contractors is a smart choice. They turn hard-to-paint surfaces into stunning spaces that feel fresh, clean, and beautifully done.
FAQs
1. Can you paint directly over textured walls?
Yes, but professionals recommend cleaning, priming, and sanding first for a smoother finish.
2. How do painting contractors smooth out heavily textured walls?
They may use skim coating, sanding, or high-build primers to reduce texture before painting.
3. What kind of paint is best for textured walls?
Satin or eggshell finishes work well since they balance durability and smooth appearance.
4. Do textured walls need more paint?
Yes, textured surfaces absorb more paint, so contractors usually apply two or more coats.
5. How long does it take professionals to paint textured walls?
It depends on size and condition, but most projects take 2–4 days from prep to cleanup.