A painted door should look smooth and even. Instead, many end up with roller texture, drips along the panel edges, or a latch edge that sticks for a week. Most of those problems come from skipped prep and heavy coats, not bad luck.
Here is how to paint interior doors from start to finish: prep and lightly sand the surface, prime only when the door needs it, paint the panels before the flat areas, and let each thin coat dry before the next. The steps below walk through every move, plus what to do when a door is dark, old, or already showing brush marks. Set aside a full day so each coat has time to dry.
Key Takeaways
Wash and scuff-sand every door, even one that already has paint on it.
Prime only when the door is bare, stained, changing color sharply, or covered in old oil-based paint.
Brush the panels first, then roll the flat areas before the paint starts to set.
Apply two or three thin coats instead of one heavy one.
Let the last coat dry before rehanging, and go easy on the door while the paint cures.
What you need to paint an interior door
Gather everything before you open the paint can. A door is a small surface, but it sits at eye level and shows every flaw.
| Item | Why it matters | | :---- | :---- | | 2-inch angled brush | Cuts into panel corners and around hinges | | 4-inch high-density foam roller or ¼-inch microfiber cover | Leaves flat areas smooth; thicker naps leave texture | | Sandpaper, 150 to 220 grit, plus 320 grit | Scuffs the surface for grip; 320 grit smooths between coats | | Wood filler and a putty knife | Fills dents and dings before sanding | | Tack cloth | Lifts the fine dust that sanding leaves behind | | Painter's tape and a utility knife | Protects hinges and hardware | | Drop cloth | Protects the floor | | Primer | Needed only in certain cases (see Step 3) | | Enamel paint, satin or semi-gloss | Dries hard and wipes clean |
For paint, choose an enamel paint in satin or semi-gloss. Enamels such as Benjamin Moore Advance and Sherwin-Williams Emerald Urethane dry hard and self-level, which leaves fewer brush strokes behind.
How to paint interior doors: take the door off or leave it on
Take the door off its hinges if you can lift it safely. Laid flat on sawhorses, a door gets the fewest drips, and the bottom edge is easy to reach. Leave it hanging when it is heavy or you have several to do, and keep the coats thin.
| | Door off the hinges | Door left on the hinges | | :---- | :---- | :---- | | Drips | Fewest, since the door lies flat | More likely on a vertical surface, so keep coats thin | | Bottom edge | Easy to reach | Hard to reach | | Time and effort | Slower: pull the hinge pins, then rehang | Faster, with both sides done in one session | | Best for | One or two doors you can lift safely | Heavy doors or a house full of doors |
If the door stays up, open it halfway and wedge it with wood shims so it can't swing. Tuck a drop cloth under it to catch drips.
### Spray painting interior doors: when it pays off
A sprayer gives the smoothest finish and the fastest coverage, so it makes sense when you are painting a lot of doors at once. It also means taking the doors off and masking floors, walls, and hinges. For one or two doors, a brush and a foam roller are quicker to set up and just as smooth in careful hands.
How to paint an interior door, step by step
Here is the full sequence at a glance. Each step gets its own section below.
1. Prep the door: remove the hardware, wash it, and fill dents.
2. Sand the whole door lightly.
3. Prime the door when it needs it.
4. Paint the panels, rails, and stiles in order.
5. Sand lightly and apply the second coat.
6. Reinstall the hardware and rehang the door.
### Step 1: Prep interior doors for painting
Here is how to prep interior doors for painting, starting with the hardware. Unscrew the knob, latch plate, and strike plate. If a piece has to stay on, press painter's tape over it and trace the outline with a utility knife to trim the tape to shape, which works well on hinges.
Lay a drop cloth under the work area. Wash the door with degreasing dish soap and water, rinse with a clean damp cloth, and let it dry. Wipe the top edge too, since dust collects there. Then fill any dents or gouges with wood filler and let it dry.
Professional crews treat surface prep as the step that decides how long the finish lasts.
### Step 2: Sand the door lightly
Do you have to sand interior doors before painting? Not down to bare wood, but you do need to scuff every surface so the new paint can grip. Sand the filled spots smooth first, then go over the whole door with 150 to 220 grit sandpaper. Use a sanding sponge in the panel profiles, and take extra time on glossy old finishes. Wipe the dust away with a tack cloth.
A new pre-primed door may need only a light scuff, or none at all, so check the maker's instructions.
> Built before 1978? Test for lead before you sand. Greater Baton Rouge has no shortage of older homes, and the original doors and trim can carry lead-based paint. The EPA says its lead rule generally does not cover homeowners working on their own homes, but it recommends hiring a lead-safe certified contractor for any painting project in a pre-1978 home.
### Step 3: Prime the door when it needs it
Do I need to prime interior doors before painting? Only when one of these situations applies:
| Prime the door when | Skip primer when | | :---- | :---- | | The wood is bare or new and unprimed | The door came pre-primed | | Stains, knots, or yellowing show through the old paint, or you are making a big dark-to-light color change | You are painting latex over clean, sound latex | | Old oil-based paint sits under a latex topcoat | The new color is close to the old one and the surface is sealed |
To tell oil from latex, rub a rag soaked in rubbing alcohol on a hidden spot. If paint comes off on the rag, it is latex. If nothing comes off, it is oil-based, and it needs a bonding primer before latex goes on.
Let the primer dry completely before you paint, and sand away any rough spots.
### Step 4: Paint the panels, rails, and stiles in order
Load the brush lightly, work fast enough to keep a wet edge, and keep every coat thin. Here is the order for a six-panel door:
1. Brush the recessed edges of each panel with the angled brush, feathering the paint so no hard line forms.
2. Roll the flat face of each panel right away, before the brushed paint sets.
3. Roll the center vertical strip from top to bottom.
4. Roll the horizontal rails, working from the top down.
5. Roll the two outer vertical strips last.
6. Paint the door edges, and wipe away any paint that creeps onto the face.
A flat door is simpler. Roll the face in long strokes from top to bottom, and use the brush only at the edges and around hardware. On any door, leave paint alone once it starts to set, because going back over it creates texture.
If the door is lying flat, let the first side dry for about a day before you flip it, and cover the sawhorses with a smooth cloth so the wet paint does not pick up a pattern.
### Step 5: Sand lightly and apply the second coat
Check the can for the recoat time. Many acrylic door and trim paints recoat in about 4 hours, while a waterborne alkyd enamel such as Benjamin Moore Advance needs 16 hours at 77°F, according to its technical data sheet.
Once the first coat is dry, scuff it lightly with 320 grit sandpaper and wipe it with a tack cloth. Then apply the second thin coat in the same order. Most doors look best after two coats. A dark-to-light color change, or a color that covers poorly, can need a third.
### Step 6: Reinstall the hardware and rehang the door
Wait until the paint is dry to the touch, then peel off the tape. Score any edge where paint bridged the tape with a utility knife first, so the paint does not lift. Screw the hardware back on.
A new knob set is the easiest upgrade at this stage, and replacing old hardware beats painting over it, since paint on a knob chips quickly. If you removed the door, slide it back onto the hinges and drive the pins home, with a helper for heavy doors.
Interior door painting ideas: colors, trim, and before-and-afters
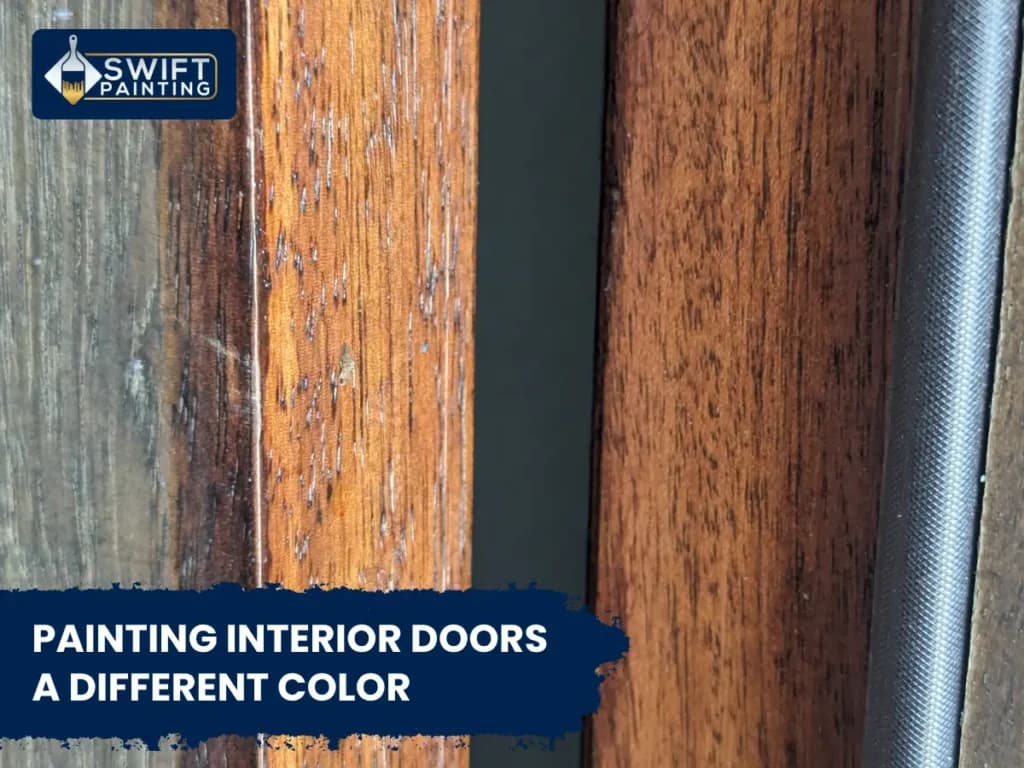
Looking for painting interior doors ideas? Start with sheen and color, then decide how the door meets the trim. Satin and semi-gloss are the usual picks because they wipe clean and hide fingerprints better than flat paint. The best paint for interior doors still depends on the room, so match the paint to how the door gets used.
### Classic white and trim-matched doors
Matching the door to the trim in color and finish gives a clean, modern look, and Benjamin Moore Simply White and Cloud White are popular choices. For contrast, keep the trim white and move the door a shade or two darker, such as Sherwin-Williams Repose Gray (SW 7015).
### Painting interior doors black: before and after
In a hallway of builder-grade white doors, a set of black ones gives the whole space definition. Keep the trim white and the contrast does the work. Sherwin-Williams Tricorn Black (SW 6258) is a popular pick.
Dark colors need more help than light ones. Have the primer tinted toward the topcoat color, since tinted primer lets deep colors reach their true shade in fewer coats. Choose satin over gloss, because glossier sheens show every roller mark and speck of dust.
Want to see bold door colors in finished homes across Greater Baton Rouge? See our work.
### Two-color doors
Two colors add depth without overwhelming a room. Paint the recessed panels one shade and the stiles and rails another, or try subtle tone-on-tone variations. Let the first color dry fully before you tape against it.
How to fix brush marks, drips, and a door that sticks
Most finish problems on a painted door can be sanded out and recoated. Here are the common fixes:
Dried drip: Knock it down with 320 grit sandpaper, wipe with a tack cloth, and touch up lightly.
Tiny bubbles from a foam roller: Check the roller packaging, since some foam covers work better when dampened first. If bubbles keep showing up, switch to a ¼-inch woven roller for the remaining coats. Sand lightly once dry.
Brush marks: Sand them smooth and recoat with a self-leveling enamel, using a light hand. Do not rework paint after it starts to set.
Sticking latch edge: Sand the edge lightly, apply a very thin coat, and keep the door from closing tight until the paint cures.
Why Greater Baton Rouge homeowners call Swift Painting for interior doors
Swift Painting paints interior doors and trim alongside walls and ceilings as part of full interior painting projects, so the finish matches from room to room. Every project starts with a color consultation, and we treat doors and trim with the same care as the walls around them. Here is what homeowners across Greater Baton Rouge and Livingston Parish can count on:
1. Licensed and insured: a Louisiana licensed home improvement contracting company, with Workmen's Comp and General Liability coverage through LWCC.
2. Chooz "Top Pro" award for painting contractors in Baton Rouge, with a Chooz Score of 88.1%.
3. Ranked in the top 99% of Louisiana contractors per BuildZoom.
4. A same-day, on-site estimate before the crew leaves.
Curious how that plays out in real homes? Read what neighbors are saying.
A smooth door comes down to thin coats and patience
A good door finish does not depend on fancy tools. It comes from a clean, lightly sanded surface, primer only where it belongs, thin coats in the right order, and the patience to let each layer dry. If you would rather have a crew handle the doors along with the rest of your interior, Get a free estimate or call (225) 414-6312.
Frequently Asked Questions
How long should you wait before closing or using a freshly painted door?
Wait until the paint is dry to the touch, about 4 to 6 hours for Benjamin Moore Advance at 77°F and less for many acrylic latex paints. Then go easy on the door and skip bumpers and harsh cleaners until it cures, which can take up to 30 days for Advance.
Should you paint the door or the trim first?
If the door stays on its hinges, paint the casing first, then the door. With the door off, either order works. Let each surface dry before you tape against it.
Do you paint all four edges of a door the same color?
If both faces match, paint all four edges to match. If the two faces differ, pros match the visible edge to the visible face. The latch edge takes the color of the face you are looking at, and the hinge edge takes the color of the back of the door.
Can you paint each side of an interior door a different color?
Yes, and many homeowners do. A common choice is a bolder color on the hallway side and a calm one inside the room. Pick a color that works with the room on each side, and match the edges as described above.
Can you use wall paint or trim paint on an interior door?
Trim paint works well and keeps the color consistent with the woodwork. Wall paint is a weaker choice, since flat and low-sheen wall paints scuff easily and are harder to wipe clean. To match the walls, use the same color in a satin enamel.
How much paint does one interior door need?
One quart is enough for a standard door with two coats on both faces. Many enamels cover 400 to 500 square feet per gallon (the Benjamin Moore Advance data sheet gives that range), so a quart covers roughly 100 to 125 square feet, and a 30-by-80-inch door is about 17 square feet per face. Buy extra for dark colors or a third coat.
Ready to Transform Your Home?
Whether you need exterior repainting, interior transformations, or custom cabinet spray refinishing, Swift Painting LLC delivers flawless results engineered for Louisiana homes.
Contact our expert team today for your free written proposal.