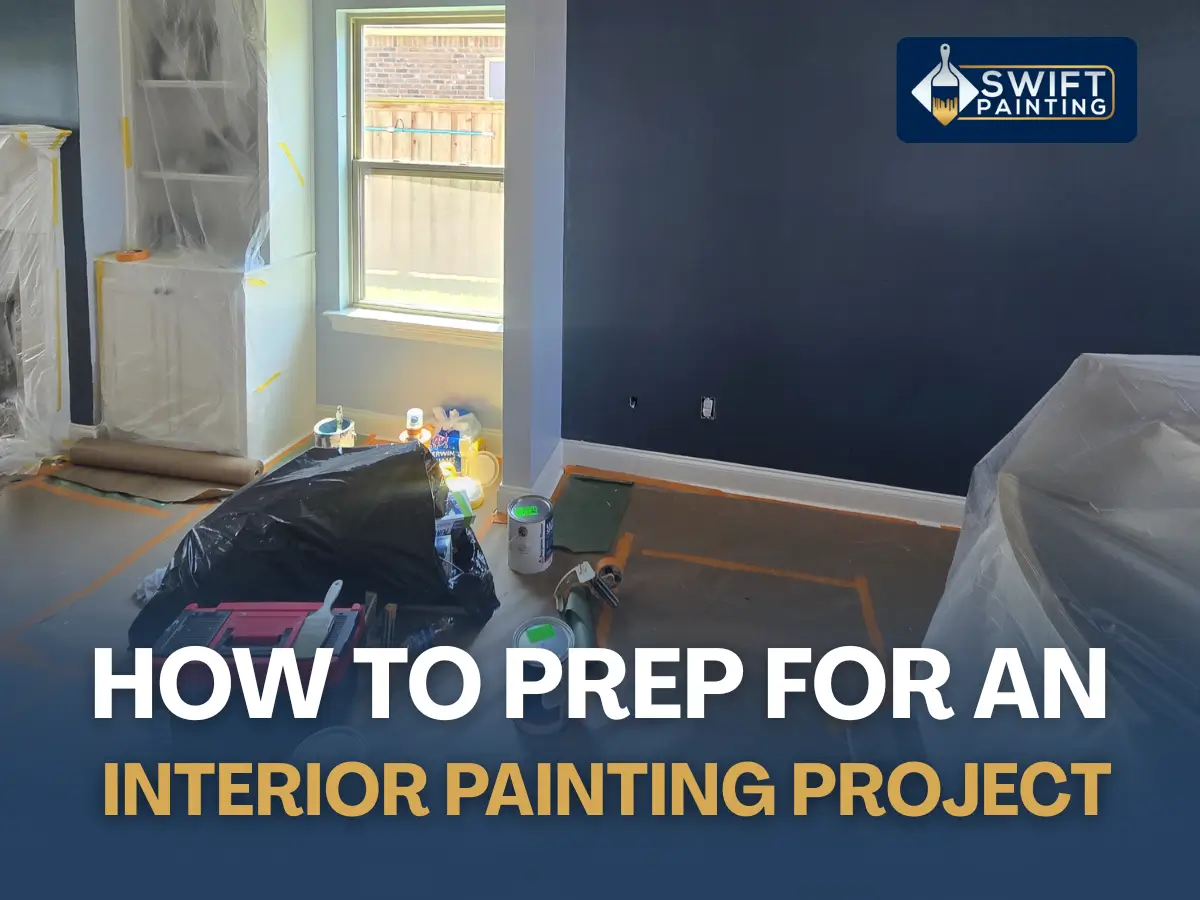
Painting is like every other DIY project. If you don’t plan properly, your chances of getting unsatisfactory results is very high. Poor planning also results in wastage. You are bound to waste money, time and effort if you start painting your interior without preparing accordingly. So, how do you prep for an interior painting project?
If you live in Baton Rouge, consider Swift Painting LLC – the fastest-growing painting contractor in Baton Rouge known for cleanliness, speed, professionalism, great customer care, and the best painting warranty in the area.
How to Prep for an Interior Painting Project
Step 1: Move Your furniture or Cover it
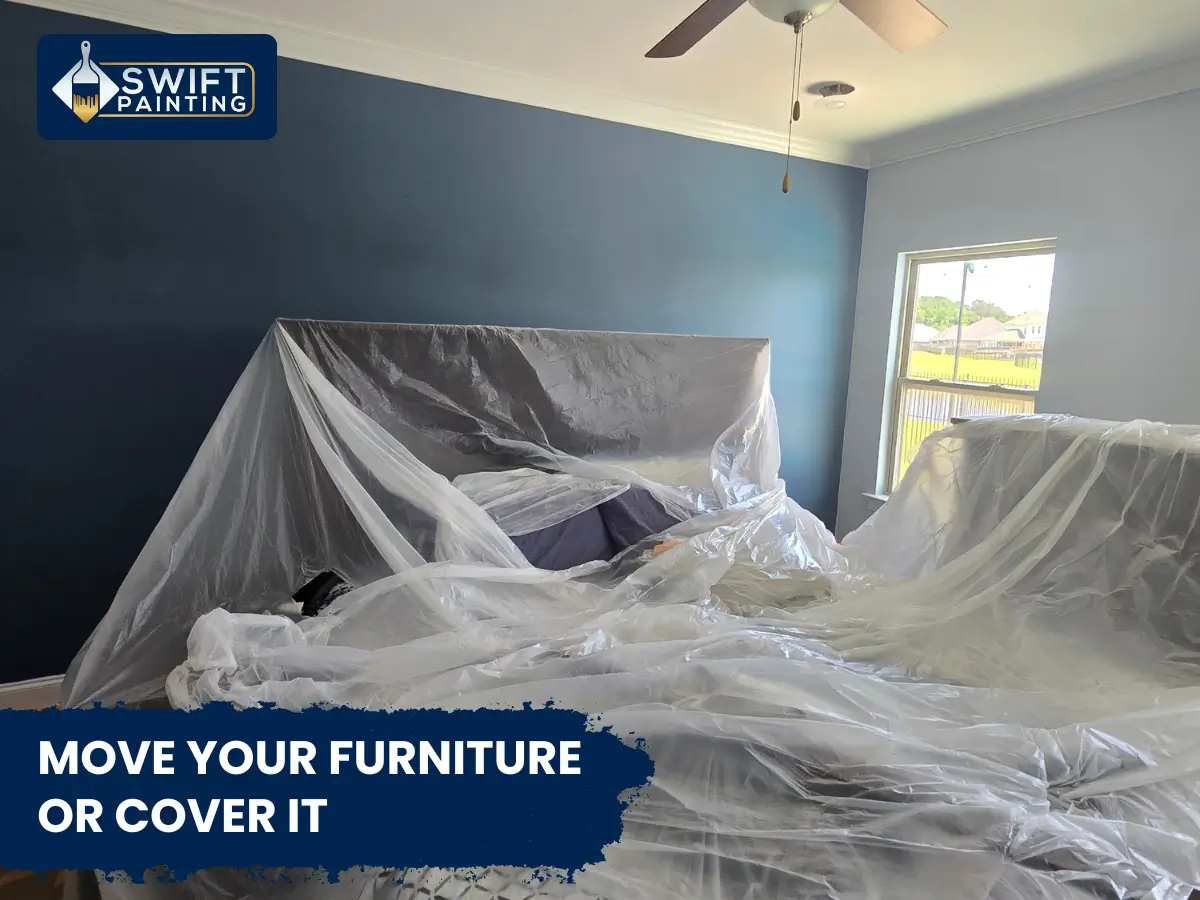
Empty the room if possible. Alternatively, you can cover your furniture and everything else in the room. Ensure the covered furniture is placed at the center of the room away from the walls to avoid paint spilling. Putting furniture and other items at the center of your room also offers easy access to the walls being painted. You can cover your furniture using painter’s plastic to avoid tedious and costly furniture cleaning costs when paint drips on your seats or fabric upholstery.
Step 2: Wear Protective Gear (goggles, old clothes/overalls, gloves, mask, etc.)
Paint fumes can irritate the eyes and throat. Paint spills can irritate the skin. Your clothes can also be damaged by paint. Protective gear prevents all this from happening.
Step 3: Prep the Surface
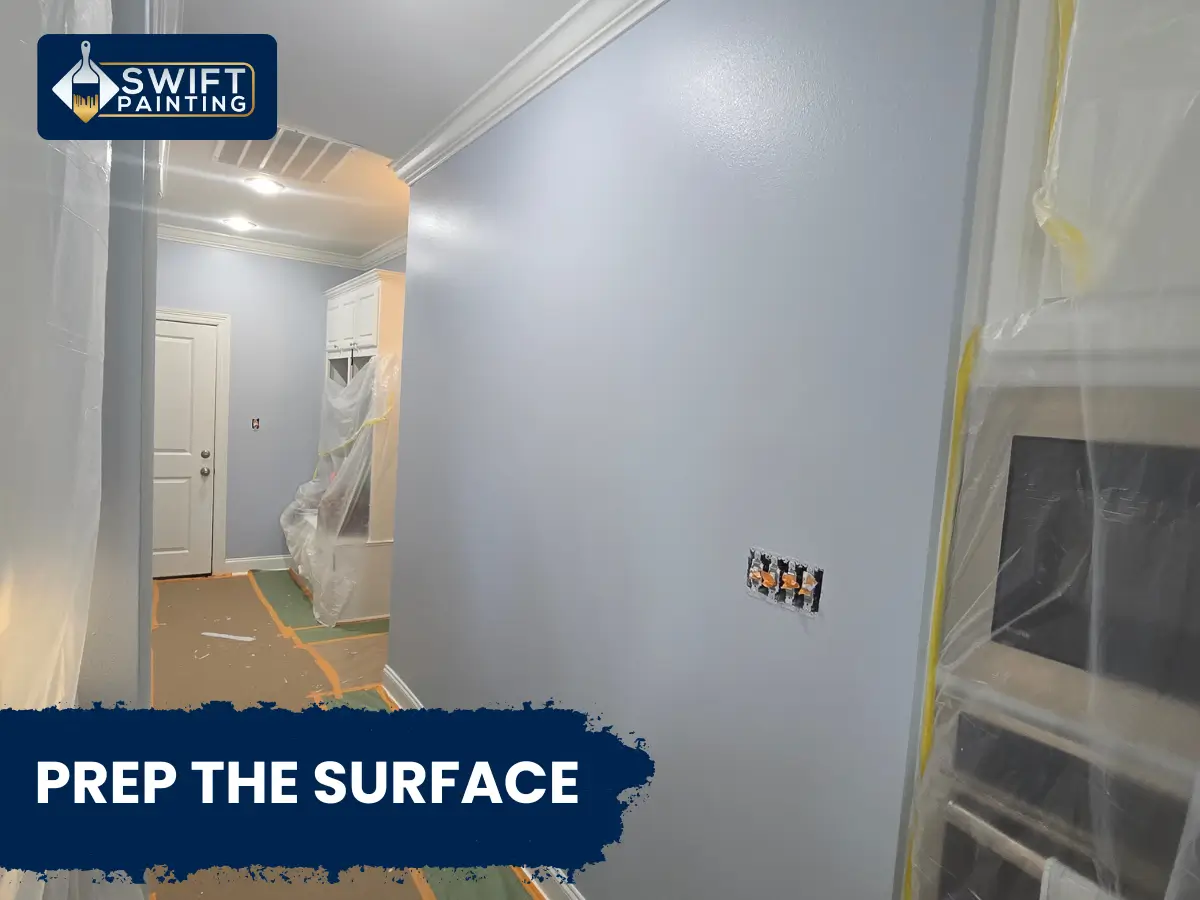
Before painting, you should scrap flaking paint using a paint scrapper. Plaster bumps, among other imperfections, should also be evened out using sandpaper or an electric sander to get an exceptional outcome.
Step 4: Clean the Walls
After scraping paint from your interior walls, it’s important to dust and clean the walls using a damp towel. Alternatively, you can wash the walls using detergent to get rid of stubborn dirt on some interior walls (i.e., kitchen walls) that can interfere with the final outcome. Paint doesn’t adhere well on surfaces with dirt or debris.
Step 5: Protect Wall Trim, Sconces, Floor, etc.
You should cover anything you don’t want to paint using painter’s tape. This includes wall trim, sconces, wall switches, and power outlets. It’s also advisable to protect the floor using floor covering at least three feet from the wall to safeguard the floor from paint droplets. Cover your floor completely if you are painting the ceiling.
Step 6: Gather Your Materials
Before you begin painting your interior walls, make sure you have all the materials ready. This includes primer, paint, paint-can opener, stirring sticks, paintbrushes, paint tray, ladders, scaffolding, sponges, roller, etc. This step will save precious time you would have otherwise wasted looking for things after you begin painting.
Important: You should have made a decision on the color. If not, experiment and see how different color swatches look in the interior space you are painting. This may mean going home and taping color swatches to the wall just to see how they look firsthand with the room’s lighting. Also, purpose to do a few tests since paint color may look different after drying.
Step 7: Prime Your Walls
Priming is important for hiding seams, joints, or other imperfections on drywall. It also removes blemishes and creates a perfect surface for painting. Use high-quality primer. If you are painting new drywall, use water-based primer. Heavily-stained walls or those with paneling should be painted using oil-based primer.
After priming, your interior is ready for painting. To get pro interior painting results, you must follow the above prep work to the letter. Alternatively, you can hire the best painting contractor near you.