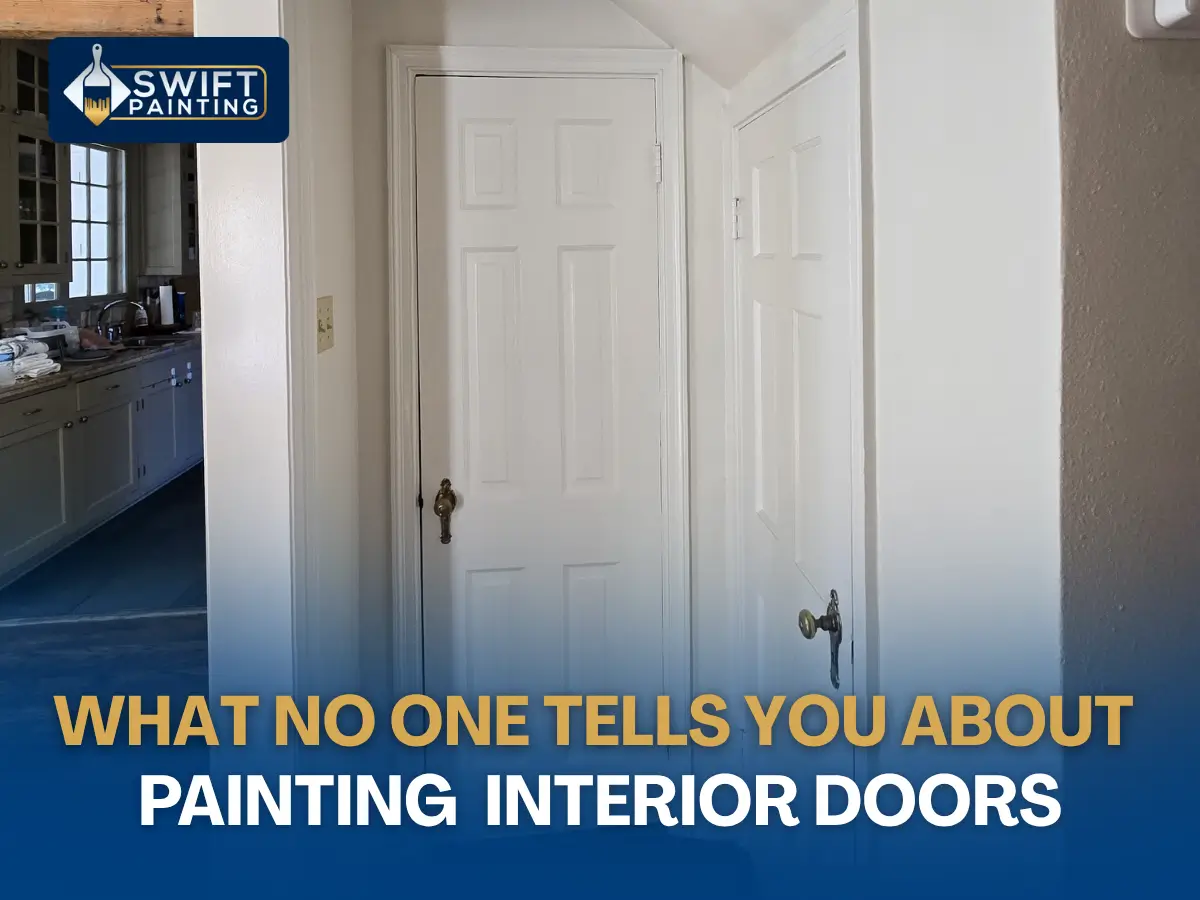
Painting the interior sounds simple, until you’re halfway through, your roller leaves streaks, the paint starts dripping, and suddenly your “weekend refresh” feels like a full-blown renovation nightmare.
Here’s the truth most people won’t tell you: doors are one of the trickiest surfaces in your home to paint well. They sit at eye level, catch light from every angle, and show every flaw. But when done right, they can quietly transform your entire space.
Let’s get into the real details, the kind that separates a rushed DIY job from a finish that actually looks professional.
Why Painting Interior Doors Matters More Than You Think
Walls get all the attention. Doors? Not so much.
Yet, doors are like the punctuation marks of your home. They frame transitions, define spaces, and subtly influence how polished everything feels. A fresh coat of paint can make a room feel sharper, cleaner, and even more expensive, without touching anything else.
There’s actual psychology behind this. Studies in environmental design show that clean lines and consistent finishes reduce visual stress and create a sense of order. In simple terms: when your doors look good, your whole home feels better.
The Hidden Rules for Painting Interior Doors

Everyone talks about “just sand and paint.” That’s only half the story.
Here are the rules for painting the interior doors that professionals quietly follow:
- Remove the door if possible. Gravity works against you when it’s hanging.
- Always clean first. Dust, grease, and fingerprints ruin adhesion.
- Sand lightly between coats. That’s how you get that smooth, factory-like finish.
- Use thin coats instead of one thick layer. Thick paint drips and dries unevenly.
- Follow the grain or panel structure. Random strokes = messy look.
And one rule people ignore the most? Patience. Paint needs time to settle and cure. Rushing it shows.
Choosing the Best Roller for Interior Doors
Not all rollers are created equal. Using the wrong one is like brushing your hair with a fork; it technically works, but why would you?
For smooth doors, the best roller for painting interior doors is:
- Foam rollers for ultra-smooth finishes
- Microfiber rollers (short nap) for minimal texture
Avoid thick nap rollers. They leave a bumpy surface that screams “DIY.”
For panels and edges, combine your roller with a high-quality angled brush. That combo is what gives doors that crisp, professional look.
Spray Painting Interior Doors: Worth It or Overkill?
Spray painting interior doors feels like the “pro move,” and honestly, it kind of is.
It gives:
- A flawless, streak-free finish
- Faster coverage
- Even paint distribution
But here’s the catch. It also demands prep work. Lots of it.
You’ll need to mask everything: floors, walls, and hinges. Miss one spot, and you’ll find paint mist where it shouldn’t be. If you’re not experienced, spraying can quickly turn into a mess.
Still, when done right, it delivers that smooth, almost factory-finished look you see in magazines.
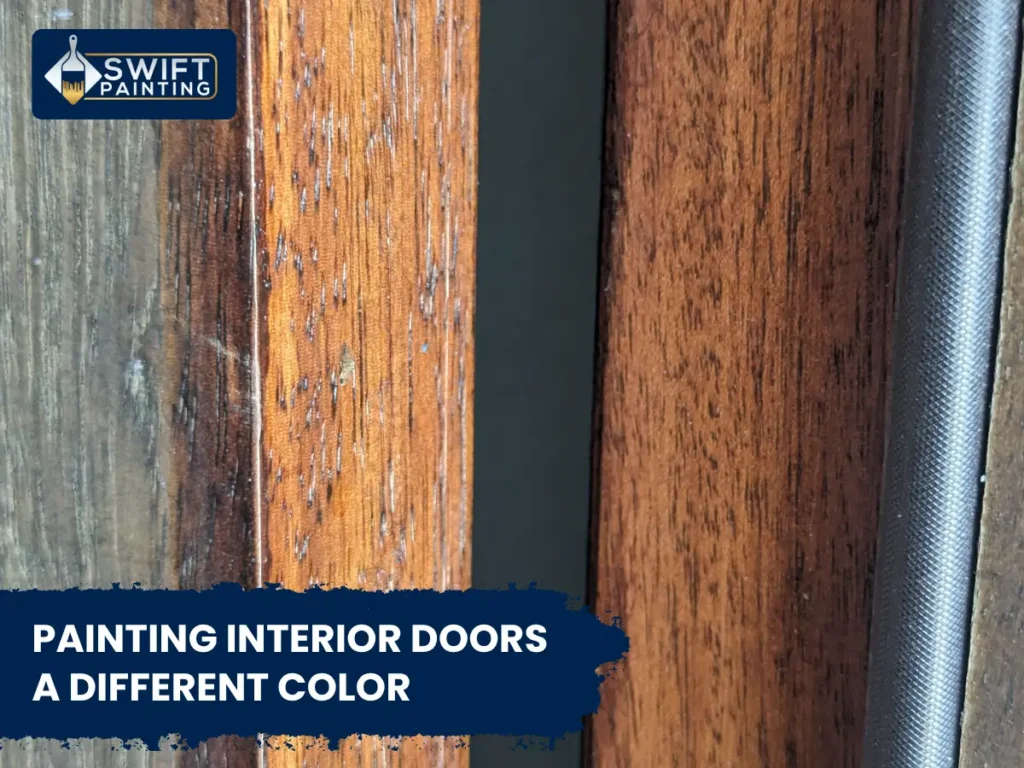
Painting Interior Doors a Different Color
Here’s where things get interesting.
Most people stick to white doors because it’s “safe.” But safe doesn’t always mean stylish.
Painting interior doors a different color can completely shift the vibe of a room. Think of it like changing the frame on a painting; it alters how everything else is perceived.
Popular options include:
- Deep charcoal or black for contrast
- Soft greige for a modern neutral feel
- Muted blues or greens for a subtle personality
Just don’t go random. Your door color should connect with the room, either matching undertones or intentionally contrasting them.
Painting Interior Doors Two Colors
If one color feels limiting, two colors open up a whole new design world.
Painting interior doors two colors is growing in popularity because it adds depth without overwhelming the space.
You can:
- Paint the panels one shade and the frame another
- Use a darker tone on the bottom half for a grounded look
- Match one side of the door to each adjoining room
It’s a small detail, but it creates a layered, thoughtful aesthetic, something most homes lack.
Ideas for Painting Interior Doors and Trim
Doors don’t live alone. They’re part of a system: trim, walls, floors. Treat them like a team.
Some ideas for painting interior doors and trim that actually work:
- Keep trim white and go bold on doors for contrast
- Match doors and trim for a seamless, modern look
- Use satin or semi-gloss finishes for durability and light reflection
- Try subtle tone-on-tone variations for a designer feel
Finish matters more than color sometimes. A slight sheen difference can elevate the entire room without changing the palette.
The Mistakes No One Warns You About
This is where most projects go sideways.
Common mistakes include:
- Skipping primer (especially on dark or glossy surfaces)
- Overloading the brush or roller
- Ignoring drying times between coats
- Painting in poor lighting conditions
- Using low-quality paint to “save money.”
That last one often costs more in the long run. Cheap paint means more coats, more time, and less durability.
Timing, Temperature, and Technique
Painting isn’t just about tools and color. It’s also about conditions.
Ideal painting conditions:
- Temperature between 50–85°F
- Low humidity to prevent slow drying
- Good airflow without strong drafts
Technique matters too. Work in sections. Keep a wet edge. And don’t go back over partially dried paint; it creates streaks and uneven texture.
It’s a bit like cooking. The ingredients matter, but timing and technique make the dish.
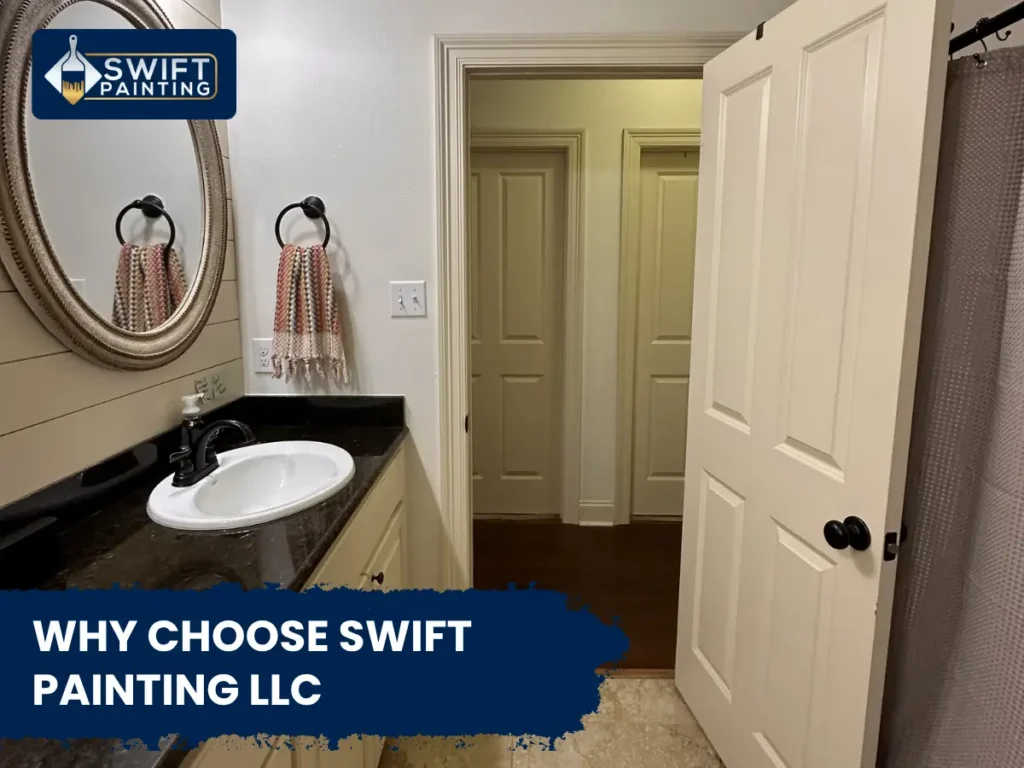
Why Choose Swift Painting LLC
You could spend your weekend sanding, taping, repainting, fixing mistakes… or you could let professionals handle it.
Swift Painting LLC stands out because they don’t just paint; they manage the entire experience.
Here’s what makes them different:
- Upfront pricing with no surprises
- Clear communication from start to finish
- Skilled painters who focus on detail, not speed
- Flexible scheduling that works around your life
- Licensed and insured for peace of mind
They also guide you through color choices and finishes, which honestly saves more time than anything else. Choosing the wrong color is one of the most common regrets homeowners have.
And their process? Structured, efficient, and built around your comfort. From consultation to final walkthrough, everything is designed to make the experience smooth and stress-free.
Conclusion
Painting interior doors isn’t just a quick cosmetic update. It’s one of those small changes that quietly reshape how your home feels.
Do it right, and your space looks cleaner, sharper, more intentional. Do it wrong, and every flaw sits there, right at eye level.
The difference comes down to preparation, tools, technique, and a bit of patience. Or, if you’d rather skip the trial-and-error phase, there’s always a smarter route.
Ready to Transform Your Doors? If you want a smooth, professional finish without the stress, Swift Painting LLC makes it easy.
Request a free quote today and see how a simple door refresh can completely change your space.
FAQs
How many coats are needed for painting interior doors?
Most interior doors need 2–3 thin coats for a smooth and even finish. Dark colors or major color changes may require an extra coat.
What is the best paint finish for interior doors?
Semi-gloss or satin finishes are ideal. They’re durable, easy to clean, and reflect light nicely without showing too many imperfections.
Can I paint doors without removing them?
Yes, but removing them gives better results. It prevents drips and allows you to paint evenly across all surfaces.
Is spray painting better than rolling?
Spray painting provides a smoother finish, but it requires more prep. Rolling is easier for most homeowners and still delivers great results when done correctly.
How long should I wait before using a freshly painted door?
Wait at least 24 hours before light use, and a few days for full curing. This prevents smudges and ensures durability.